A lot of the Pearl.Models contestants are using horse hair to make their sceneries look more realistic. But you have to know how to pull it off, otherwise it will look sloppy and unrealistic.
In this 'tutorial' I will show you how you can use it to your advantage.
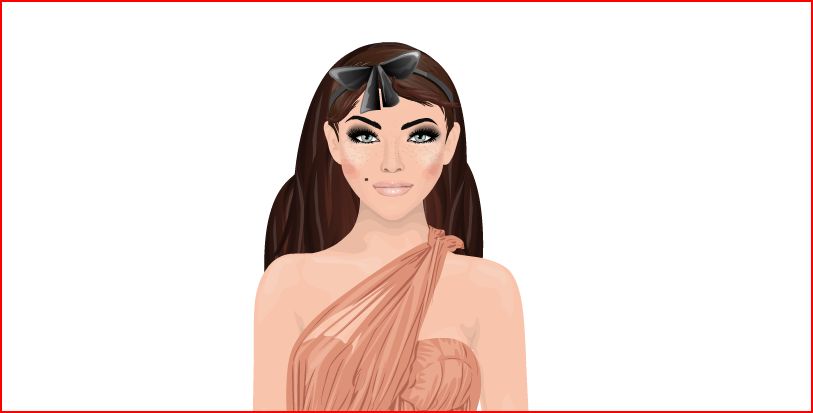
Here we have beauty shoot. Looks nice, doesn't it? But there are a few things we can change to make it fabulous!
At first, there is the elbow. I just used one tile there. but that isn't enough. It looks still way too sharp!

So I used about 5 other tiles to make it rounder and more realistic!:

Now for the horsehair. The easiest way to use it is a ponytale. I really like using it that way, because you are able to create a whole new hairstyle! But ut also adds a lot of motion. As you can see, it looks as if wind is blowing from the right to the left! What supports this effect is my expression. I just changed my mouth and immediately looks as if my doll is moving.

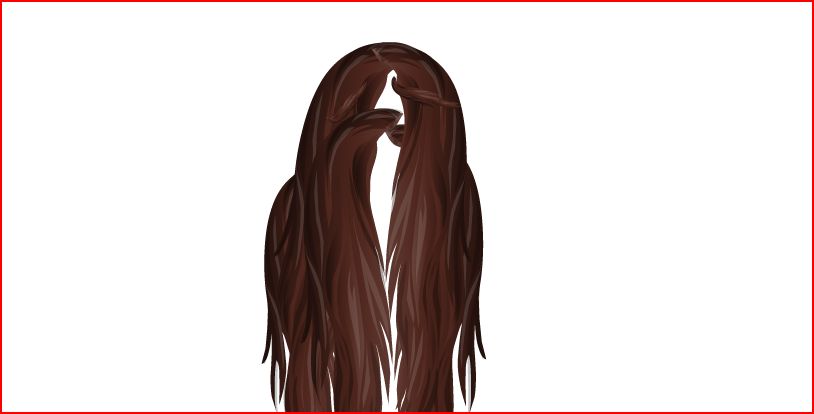
One 'piece' of horse would be already enough, but again, to make it look real I am going to use two more. NOTE: Don't think that it will look better the more pieces you use! Sometimes less is more.
The problem now, is that you can see the edges of the horsehair, which takes away the realness:

But lucky me and lucky you, we have those wonderful tools, which help us letting the pieces fade into the background:

Et voilá! We have a wonderful beauty-motion shoot:

Again a beauty shoot. But this time without a pose. Looks already nice:

But it can look like this:
This is how it looks with my medoll in the background. I hope you get the idea, because I didn't want to explain every single step :P:
The right hair is just one of a few aspects a good scenery should have. There is also the expression. And as you can see above, just a few changes (eyebrows or lips or both) can help you to create real emotion. I want you to think about all these things before doing a scenery the next time, because it can bring you to the next level!
More tutorial are going to come! I hope it helps!
No comments:
Post a Comment